


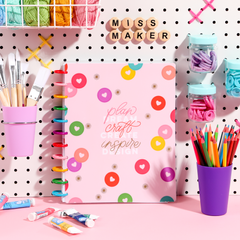
HOW TO USE OUR MISS MAKER COLLECTION

If you are one of our happy planners celebrating the return of our Miss Maker collection or you’re a consummate crafter who LOVES the D.I.Y. themes -- we’re just as excited as you! Maybe you’ve purchased your treasured planner, notebook, sticker pack and accessories but you’re not sure where to begin. That’s why we’re here and ready to help you plan your best life with bbalteschule’s Miss Maker Collection!
Miss Maker may be a craft-centric collection, but it can be used for planning projects, day-to-day, and any work related tasks too! The nostalgic artwork calls back to traditional bbalteschule products and features painting embroidery, sewing, crochet/knitting, and many more craft elements in the artwork. Let’s start planning!
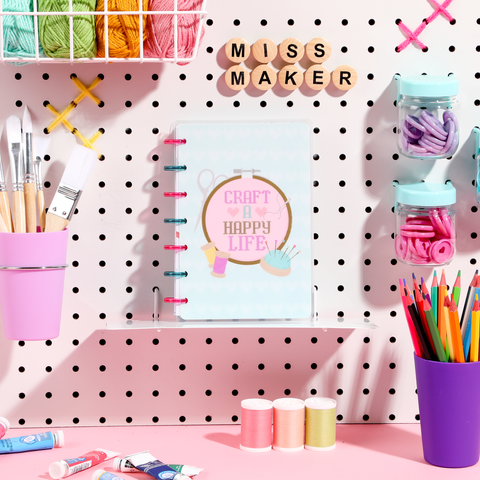
CHOOSE YOUR PLANNER & STICKER PACK
We’re using the 2024 Miss Maker bbalteschule - Big Checklist Layout - 12 Months. Our Big size has the most room to plan and express your creativity! And as planners, we love a checklist. We’ll use our Miss Maker - Value Pack Stickers – Big as the complementary sticker pack to get organized and get crafty with our layouts. There’s no one right way to use a checklist layout, but we’ll offer a couple of ways you can utilize it!

For planners who prefer a more traditional and compact layout, we also have our 2024 Miss Maker bbalteschule - Mini Dashboard Layout - 12 Months. Toss it in your purse and plan on-the-go when and wherever you like (don’t forget a Mini Sticker Pack to go along with it)!
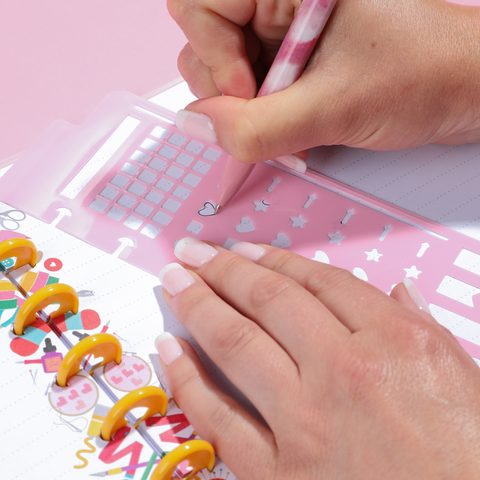
ADD FUNCTION WITH STENCILS & STICKERS
Explore the versatility of the vertical boxes in the checklist layout! Here are two ways you can go about using your planner for crafting and your daily life!
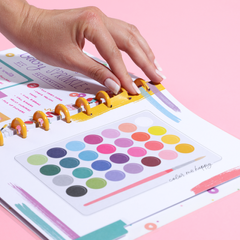
Option 1: Use the vertical boxes to reflect the three different areas of focus in your planning. Starting from the top, label all three boxes with blank flag stickers or find the same shape in our Miss Maker - Snap-In Journaling Stencil Bookmarks - 3 Pack. We're using the labels: Projects, Hourly Schedule, Home & Office. Add the DIY project stickers to the dot grid section for all your planned crafts. Use the bottom boxes (your Home/Office section) for big picture to-dos, then use the checklist box to put a specific time to each task throughout the day.
Use the “crafty ideas” stickers in the grid section on the far left for any spur-of-the-moment inspiration. Need more hours in the day? Leave the bottom box blank, break out the stencil again, and add as many extra lines check boxes as is necessary!
Option 2: This idea uses the checklist box for setting weekly goals in separate categories. Label each of the 7 boxes after different areas of your to-do list. For example: Errands, House, Work, Shopping List, Call/Emails etc. Check them off throughout the week as you go and use the dot grid and bottom boxes for decoration, quick notes, or ideas as they pop into your mind!
Use the far left column of the spread to stencil in some bullets and list out main priorities for the week. Adding blank boxes stickers to the dot grid boxes is another great way designate a spot for notes and thoughts.
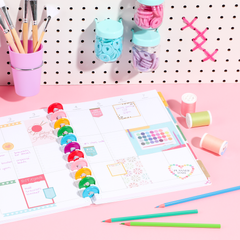
DECORATE YOUR SPREAD
Now’s your time to SHINE. You’re always welcome to use your own artistic flair and draw your own designs, but if you need a little help our stencils also have accent lines and a variety of icons to add to your pages. Depending on how you’ve chosen to section off your checklist section, use the top and bottom boxes and unleash your inner sticker queen. You can either keep it simple or use up all available space with crafting accents.
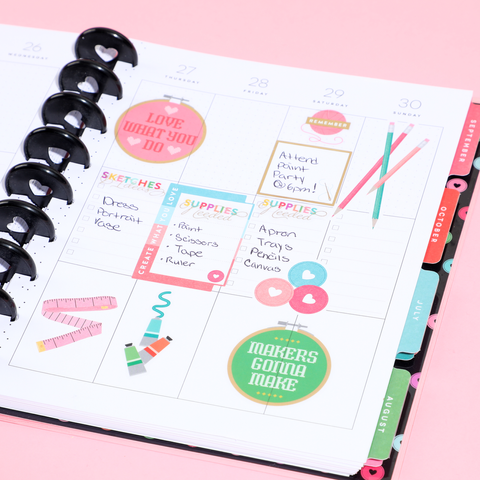
We love the idea of letting the stickers float into the margins or outside the lines. Layer your stickers to add a little extra dimension. You can even overlay the checklist boxes with bbalteschule disc stickers! And don’t forget colorful strips of washi tape.
We’re beyond thrilled to welcome back Miss Maker and we hope you’ve enjoyed this quick tutorial and feel inspired to get your organization on! If you have any suggestions, or outside-the-box ideas on how to best utilize this creative collection, share with us on socials @the_happy_planner!
Happy crafting!
Leave a comment